


MikroTik Hotspot Setup Guide for Beginners
Learn how MikroTik hotspot setup works for beginners, including internet connection, hotspot server, user profiles, vouchers, login page, and customer access.
MikroTik Hotspot Setup Guide for Beginners
MikroTik is one of the most popular routers used in WiFi hotspot businesses. It helps you control customers, create voucher codes, limit speed, manage time, and protect your internet from unpaid users.
If you want to sell WiFi using vouchers, MikroTik can help you build a professional hotspot system. Customers connect to your WiFi, open the login page, enter their voucher code, and start browsing.
In this guide, we shall explain how MikroTik hotspot setup works from start to finish in a simple way for beginners.
1. What Is MikroTik Hotspot?
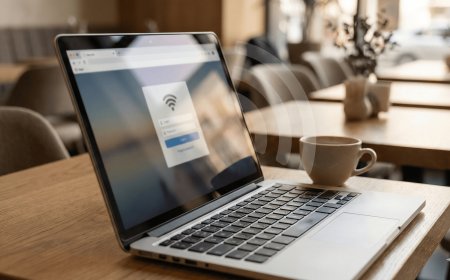
MikroTik Hotspot is a feature that controls internet access for users on your network. When a customer connects to your WiFi, they are redirected to a login page before they can browse.
The customer must enter a valid username, password, or voucher code. If the details are correct, MikroTik allows them to access the internet.
This is very useful for WiFi businesses because it allows you to sell internet packages instead of giving everyone a normal WiFi password.
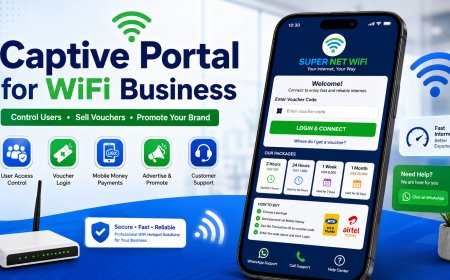
2. Why Use MikroTik for WiFi Business?
MikroTik gives you strong control over your hotspot business. Without user control, customers may share passwords, use too much bandwidth, or access internet without paying.
With MikroTik, you can:
- Create hotspot voucher users
- Set time limits
- Set speed limits
- Limit devices per voucher
- Monitor active users
- Disconnect expired users
- Create different packages
- Customize the login page
This makes MikroTik a strong tool for running a voucher-based WiFi business.
3. Basic Network Layout
A simple MikroTik hotspot network can look like this:
ISP Internet
     ↓
ISP Router or Modem
     ↓
MikroTik Router
     ↓
Switch or Access Point
     ↓
Customers connect to WiFi
The MikroTik router should be placed between the ISP internet and your customers. This allows MikroTik to control who can access the internet.
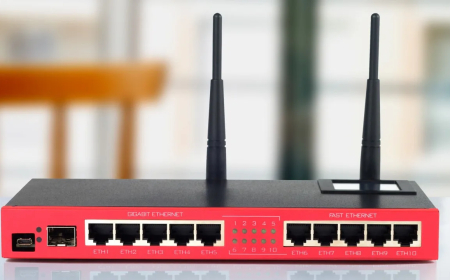
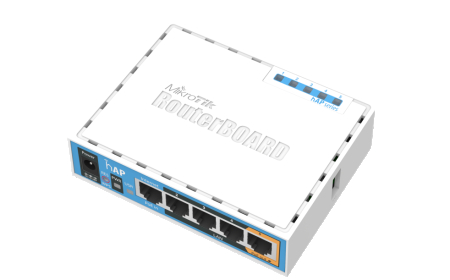
4. Equipment Needed
To create a MikroTik hotspot setup, you need some basic equipment.
| Equipment | Purpose |
|---|---|
| Internet from ISP | Main internet connection |
| MikroTik router | Controls users and vouchers |
| Access point | Spreads WiFi signal |
| Switch | Connects multiple access points |
| Ethernet cable | Connects devices together |
| Power backup | Keeps the network online during outages |
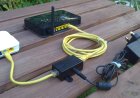
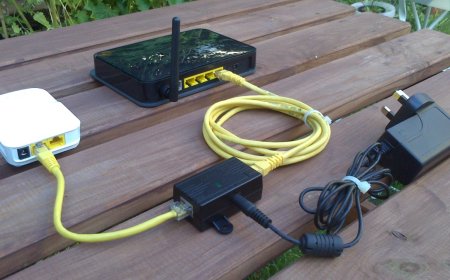
5. Connect the MikroTik Router
The first step is connecting your MikroTik router correctly.
A common setup is:
ether1 = Internet from ISP
ether2 = Customer network or access point
If you are using more than one access point, you can connect ether2 to a switch, then connect the access points to the switch.
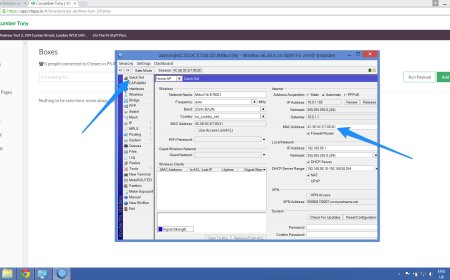
6. Configure Internet on MikroTik
Before creating a hotspot, make sure the MikroTik router itself has internet.
Your ISP may give internet using:
- DHCP
- Static IP
- PPPoE
If your ISP gives automatic internet, you can use DHCP Client on the WAN interface. If your ISP gives static details, enter the IP address, gateway, and DNS manually.
Test internet by pinging a public address.
ping 8.8.8.8If you get replies, your MikroTik has internet.
7. Create the Customer Network
The customer network is where your hotspot users will connect. You need to create a LAN IP address and DHCP server.
Example customer network:
IP Address: 192.168.10.1/24
DHCP Range: 192.168.10.10 - 192.168.10.254
DHCP is important because it gives IP addresses to customer phones and laptops automatically.
8. Add NAT Masquerade
NAT masquerade allows customer devices to access the internet through the MikroTik router.
Without NAT, customers may connect to WiFi but fail to browse.
In simple words, NAT allows many customer devices to share one internet connection from the ISP.
9. Run Hotspot Setup
After internet, LAN, DHCP, and NAT are working, you can run the Hotspot Setup.
In WinBox, go to:
IP > Hotspot > Hotspot SetupChoose the customer interface, such as ether2 or bridge-LAN.
MikroTik will guide you through the setup process. You can use default values first, then improve settings later.
10. Create User Profiles
User profiles define your packages. Each profile can have different time limits, speed limits, and device limits.
| Profile | Time | Speed |
|---|---|---|
| 2HOURS | 2 hours | 5 Mbps |
| 24HOURS | 24 hours | 7 Mbps |
| WEEKLY | 7 days | 10 Mbps |
| MONTHLY | 30 days | 15 Mbps |
Profiles help you organize your voucher packages properly.
11. Create Voucher Users
After creating profiles, create users for each package.
Example:
Username: T123456
Password: T123456
Profile: 24HOURS
The customer enters the voucher code on the login page. If the voucher is correct, they get access based on the selected profile.
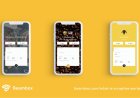
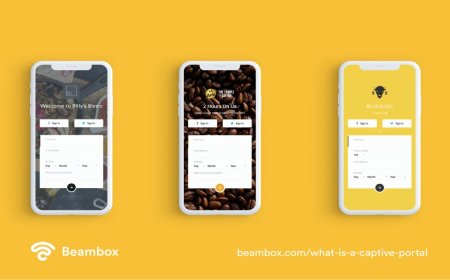
12. Customize the Login Page
The login page is what customers see before accessing the internet. A good login page should be simple, attractive, and easy to use.
A good login page should include:
- WiFi business name
- Logo
- Package prices
- Voucher input box
- Payment instructions
- WhatsApp support button
- Trial access button
A clear login page helps customers buy and connect without confusion.
13. Test the Hotspot
Before selling vouchers, test the hotspot using your phone.
Check:
- WiFi connects successfully
- Login page opens
- Voucher works
- Internet works after login
- Speed limit is applied
- Voucher expires correctly
Testing helps you avoid customer complaints during launch.
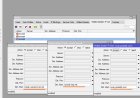
14. Monitor Active Users
After launching, monitor active users in MikroTik.
You can check:
- Who is online
- How long they have been connected
- Data usage
- IP address
- MAC address
- Session time
Monitoring helps you manage the network and identify heavy users.
15. Conclusion
MikroTik hotspot setup is a powerful way to control and sell WiFi access using vouchers. It allows you to create packages, manage users, limit speeds, and protect your internet from unpaid access.
For beginners, the most important steps are connecting internet, creating the customer network, enabling hotspot, creating profiles, creating voucher users, and testing everything before customers start using it.
With proper setup, MikroTik can help you run a professional and profitable WiFi hotspot business.
What's Your Reaction?
 Like
0
Like
0
 Dislike
0
Dislike
0
 Love
0
Love
0
 Funny
0
Funny
0
 Angry
0
Angry
0
 Sad
0
Sad
0
 Wow
0
Wow
0